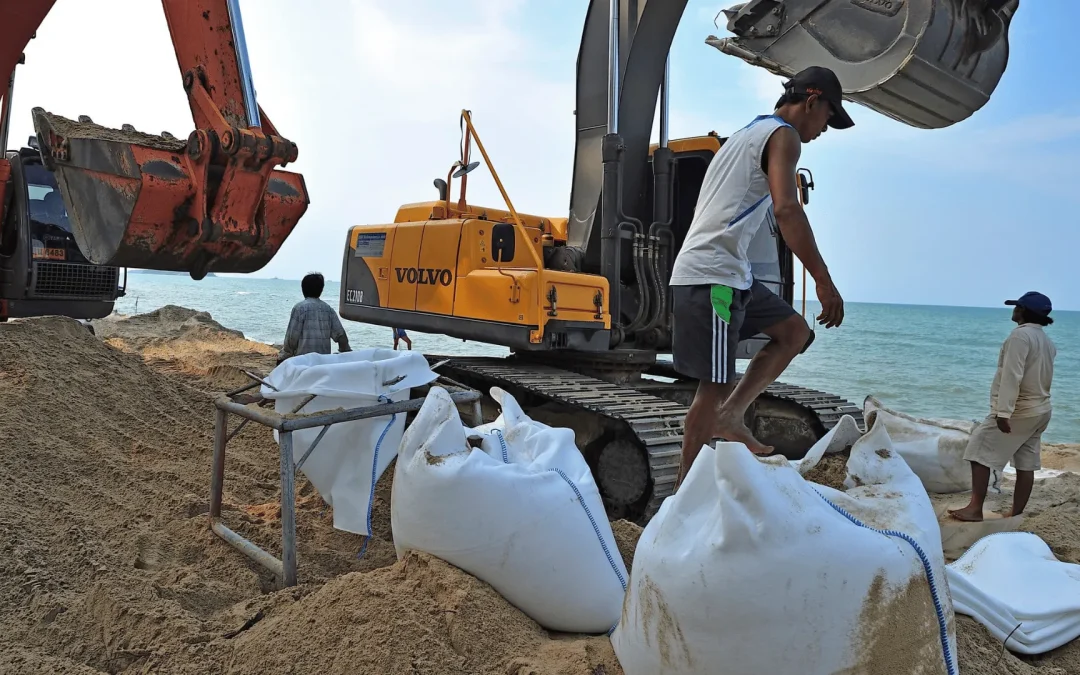
Geobags are one of the simplest ways to protect shorelines, slopes and embankments. But even the best geotextile bag only performs well when it is installed properly and looked after over time.
In this guide, we walk you through geobag installation step by step, in plain language. We also answer a question many project owners ask after the work is done: what maintenance services are recommended for installed geobags? By the end, you will know what to prepare, what to avoid, and how to keep your geobag structure working for years.
Before You Start: Preparing for Geobag Installation
Good preparation saves a lot of time later. Before the first bag is filled, check these points.
- Understand your site. Look at the soil type, water levels, wave or current action and the slope angle. A coastal site faces very different forces from a quiet pond bank. For larger or high-risk projects, ask a geotechnical or coastal engineer to confirm the design.
- Choose the right bag. Geobags come in different sizes, fabric weights and UV ratings. Match the bag to your project rather than picking the cheapest option. Our article on geobag specifications explains what to look for.
- Prepare your tools and materials.
- Geobags, plus some spares
- Fill material: clean sand is most common, free from sharp stones and debris
- A filling frame, hopper or excavator with a chute for larger bags
- A portable bag-closing sewing machine, or closing ties, depending on the bag type
- A geotextile filter layer to place under the first row of bags
- Basic safety gear: gloves, boots and high-visibility clothing

Geobag Installation: Step by Step
Every project is a little different, but most geobag installations follow the same basic steps.
- Clear and level the base. Remove rocks, roots and debris. Shape the slope to the design angle and make the base as even as you can, so the first row sits firmly.
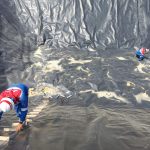
- Lay the geotextile filter layer. Spread it over the prepared base. This layer stops fine soil from washing out through the gaps between bags.
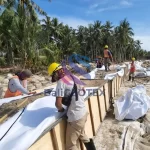
- Fill the bags. Fill each bag to around 70–80% of its capacity, unless your supplier or engineer specifies otherwise. A bag that is not overfilled can flatten and lock against its neighbours, which makes the structure more stable.
- Close the bags securely. Sew the opening shut with a bag-closing machine, or use the closure system supplied with the bag. A weak seam is one of the most common reasons for failure.
- Place the first row. Lay the bags with their long side along the shoreline or slope. Press them firmly into place so they sit tight against each other.
- Build up in a staggered pattern. Place each new row so the joints are offset, like bricks in a wall. Overlap the bags and keep the face at the slope angle in your design.
- Compact and shape. Gently tamp each layer so the bags settle into a tight, even surface with no large gaps.
- Protect the toe and finish the top. Secure the bottom edge (the toe) against scour, for example with an extra row of bags or a buried apron. Then cap or backfill the top as your design requires.
Once the structure is complete, take photos of it from fixed points. They make later inspections much easier.
Common Installation Mistakes to Avoid
A few small mistakes can shorten the life of a geobag structure. Watch out for these:
- Overfilling the bags. Rigid, round bags leave gaps and do not interlock well.
- Skipping the filter layer. Soil can wash out from behind the bags, causing them to sink or shift.
- Lining up the joints. Straight vertical joints create weak lines. Always stagger them.
- Using sharp or dirty fill. Stones and debris can puncture the fabric from the inside.
- Leaving bags in the sun too long before placing them. Most geobags are UV-stabilised, but long exposure before installation still adds wear.
- Forgetting the toe. Without toe protection, water can undermine the bottom row and the whole structure can slide.

What Maintenance Services Are Recommended for Installed Geobags?
The good news is that geobags need fairly little maintenance. Still, regular care helps you spot small problems before they become expensive repairs. These are the services most often recommended:
- Routine visual inspections. Walk the structure and check for torn, punctured or sagging bags, open seams, and bags that have moved.
- Post-storm or post-flood checks. High water and big waves put the most stress on geobags. Inspect soon after every major event.
- Scour and toe monitoring. Check whether water is washing sand away from the base. Early toe repairs are much cheaper than rebuilding a slope.
- Bag repair and replacement. Small tears can be patched or sewn. Badly damaged bags should be removed, refilled or replaced, then re-locked into the pattern.
- Cleaning and vegetation control. Clear away trash, driftwood and woody plants whose roots or sharp edges can damage the fabric. Light grass cover is usually fine and can even help stabilise the surface.
- UV and exposure checks. Look for faded, brittle or stiff fabric on bags that stay exposed to strong sun. In some projects, a protective cover layer or sand cover can extend service life.
- Record keeping. Compare new photos with those taken at installation, and note any changes. This makes trends easy to see.
You can do simple inspections yourself. For large coastal or public works, many owners hire a contractor or engineer to carry out formal inspections and repairs.
For more information about Geobag please contact: Whatsapp/Mobile Phone: +62 822 9933 3938 (Ms. Panni) or Email : info@baligeotex.com